Delicious Danish Pancake Balls -- a Lassen Family Favorite!
I will never forget the first time I had Oda's Æbleskivers. Warm, buttery, and just slightly crispy outside, they were a delight. Oda, our founder, was a wonderful cook, and was happy to share her recipe with me. I love making them for my family and friends, especially on a cozy Sunday morning.
There are several tips to help assure that your æbleskivers will be as delicious as Oda's.
First, get a really good pan. I have had several different kinds, but this one is my favorite. It is heavy and conducts the heat evenly. (I got my pans in Solvang.) I actually have three of these pans for when we have to feed a mob! I use a wooden skewer to turn the pancake balls -- it doesn't scratch the pan. Oda used a small knitting needle, but I like the wood better. (Sorry, Oda!)
The most important tip is actually the hardest to describe. Many years ago I was listening to the Food News Hour on KNX 1070 News Radio and someone called in asking about trying and failing to make æbleskivers. The host got it completely wrong -- she said the problem was the recipe. I found myself talking back to the radio, "It's not the recipe, it's the temperature!" Cooking æbleskivers is a little tricky. The pan needs to be hot enough to cook the outer edge firm enough to turn, but not so hot that the dough cooks before it can be turned into balls.
Makes about 20-23 æbleskivers
Ingredients
3 eggs
1 1/2 cups flour
1/2 tsp salt
2 tsp baking powder
1 tsp cardamom
4 TBSP melted butter
Butter for frying
Directions
Mix the buttermilk and eggs together. Add the dry ingredients, then gently blend. Mix in the melted butter, and let rest while you prepare the pan.
Check the heat of the pan by shaking a few drops of water on the pan. If it sizzles, the pan is hot enough.
Unwrap a cube of butter halfway, then hold the cube by the wrapped end. Swirl the butter into each circle of the æbleskiver pan, coating each circle with a thin layer of butter. The butter should sizzle, but not smoke or burn. If it does, your pan is too hot -- take it off the heat and cool a bit.
Spoon the dough into each circle, filling to the top.
Using the wooden skewer, rotate the ball so that each circle now has a raised lip on one side. If the lip just falls back into the circle, it needs to cook a little longer before trying to rotate.
Wait a couple of minutes and rotate again. You will repeat this step until balls are formed.
Once the pancake balls are complete, turn several times to make sure each side is golden brown and just a little crispy.
Poke the skewer into the center and pull out to see if any uncooked dough sticks. If so, continue turning and cook a little longer.
Serve with jam and powdered sugar the traditional Danish way!
What sounds good ?
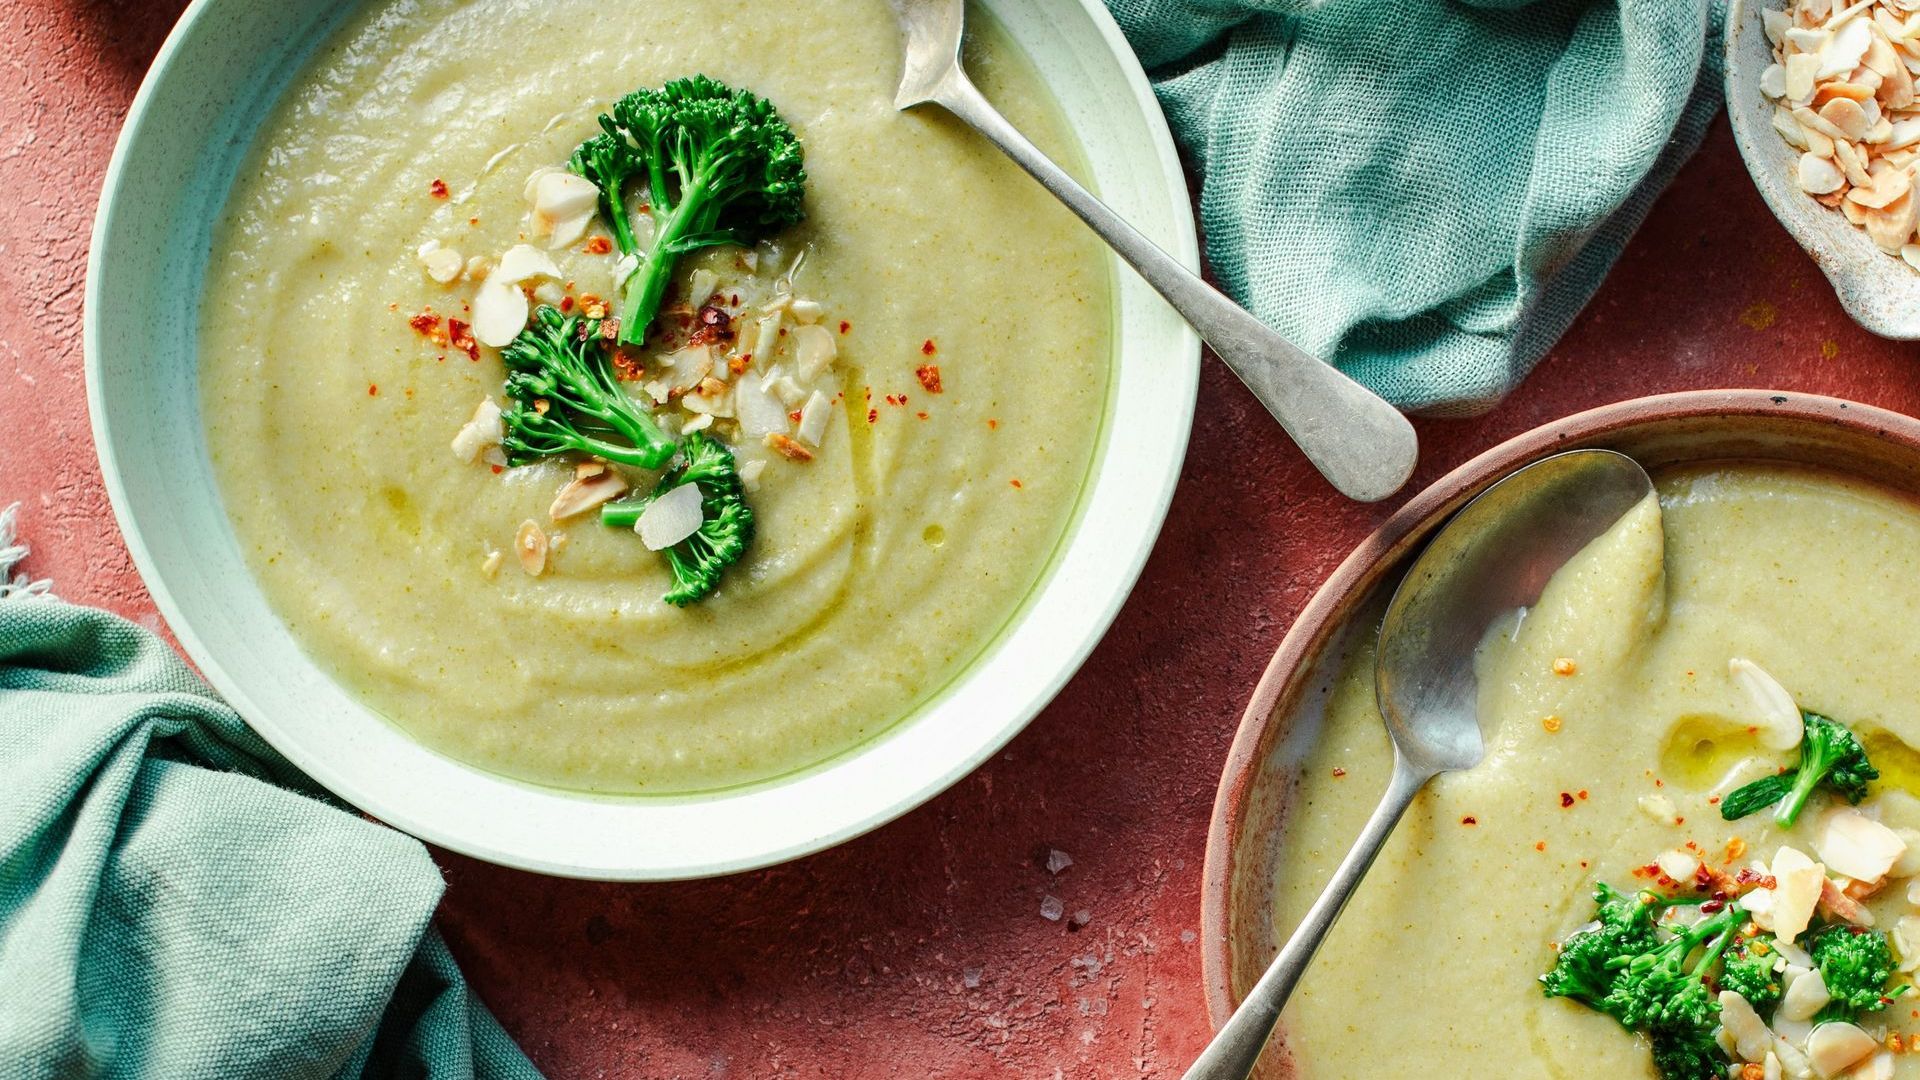
Creamy Spring Pea & Potato Soup
Creamy Spring Pea & Potato Soup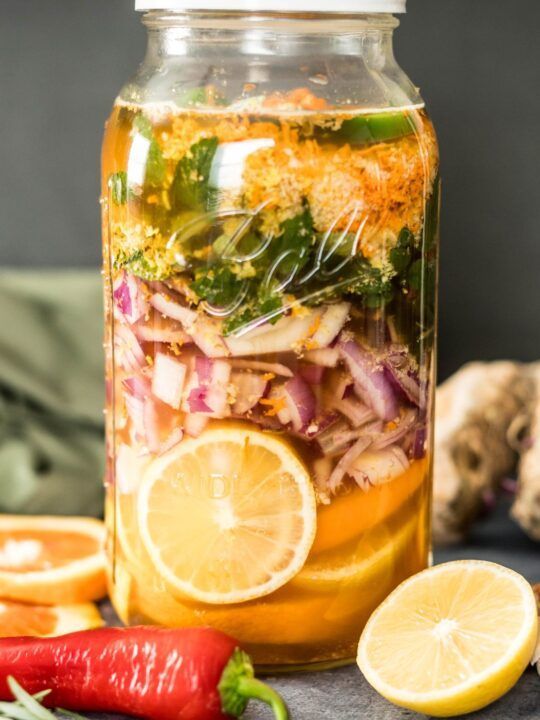
Simple Fire Cider
Simple Fire Cider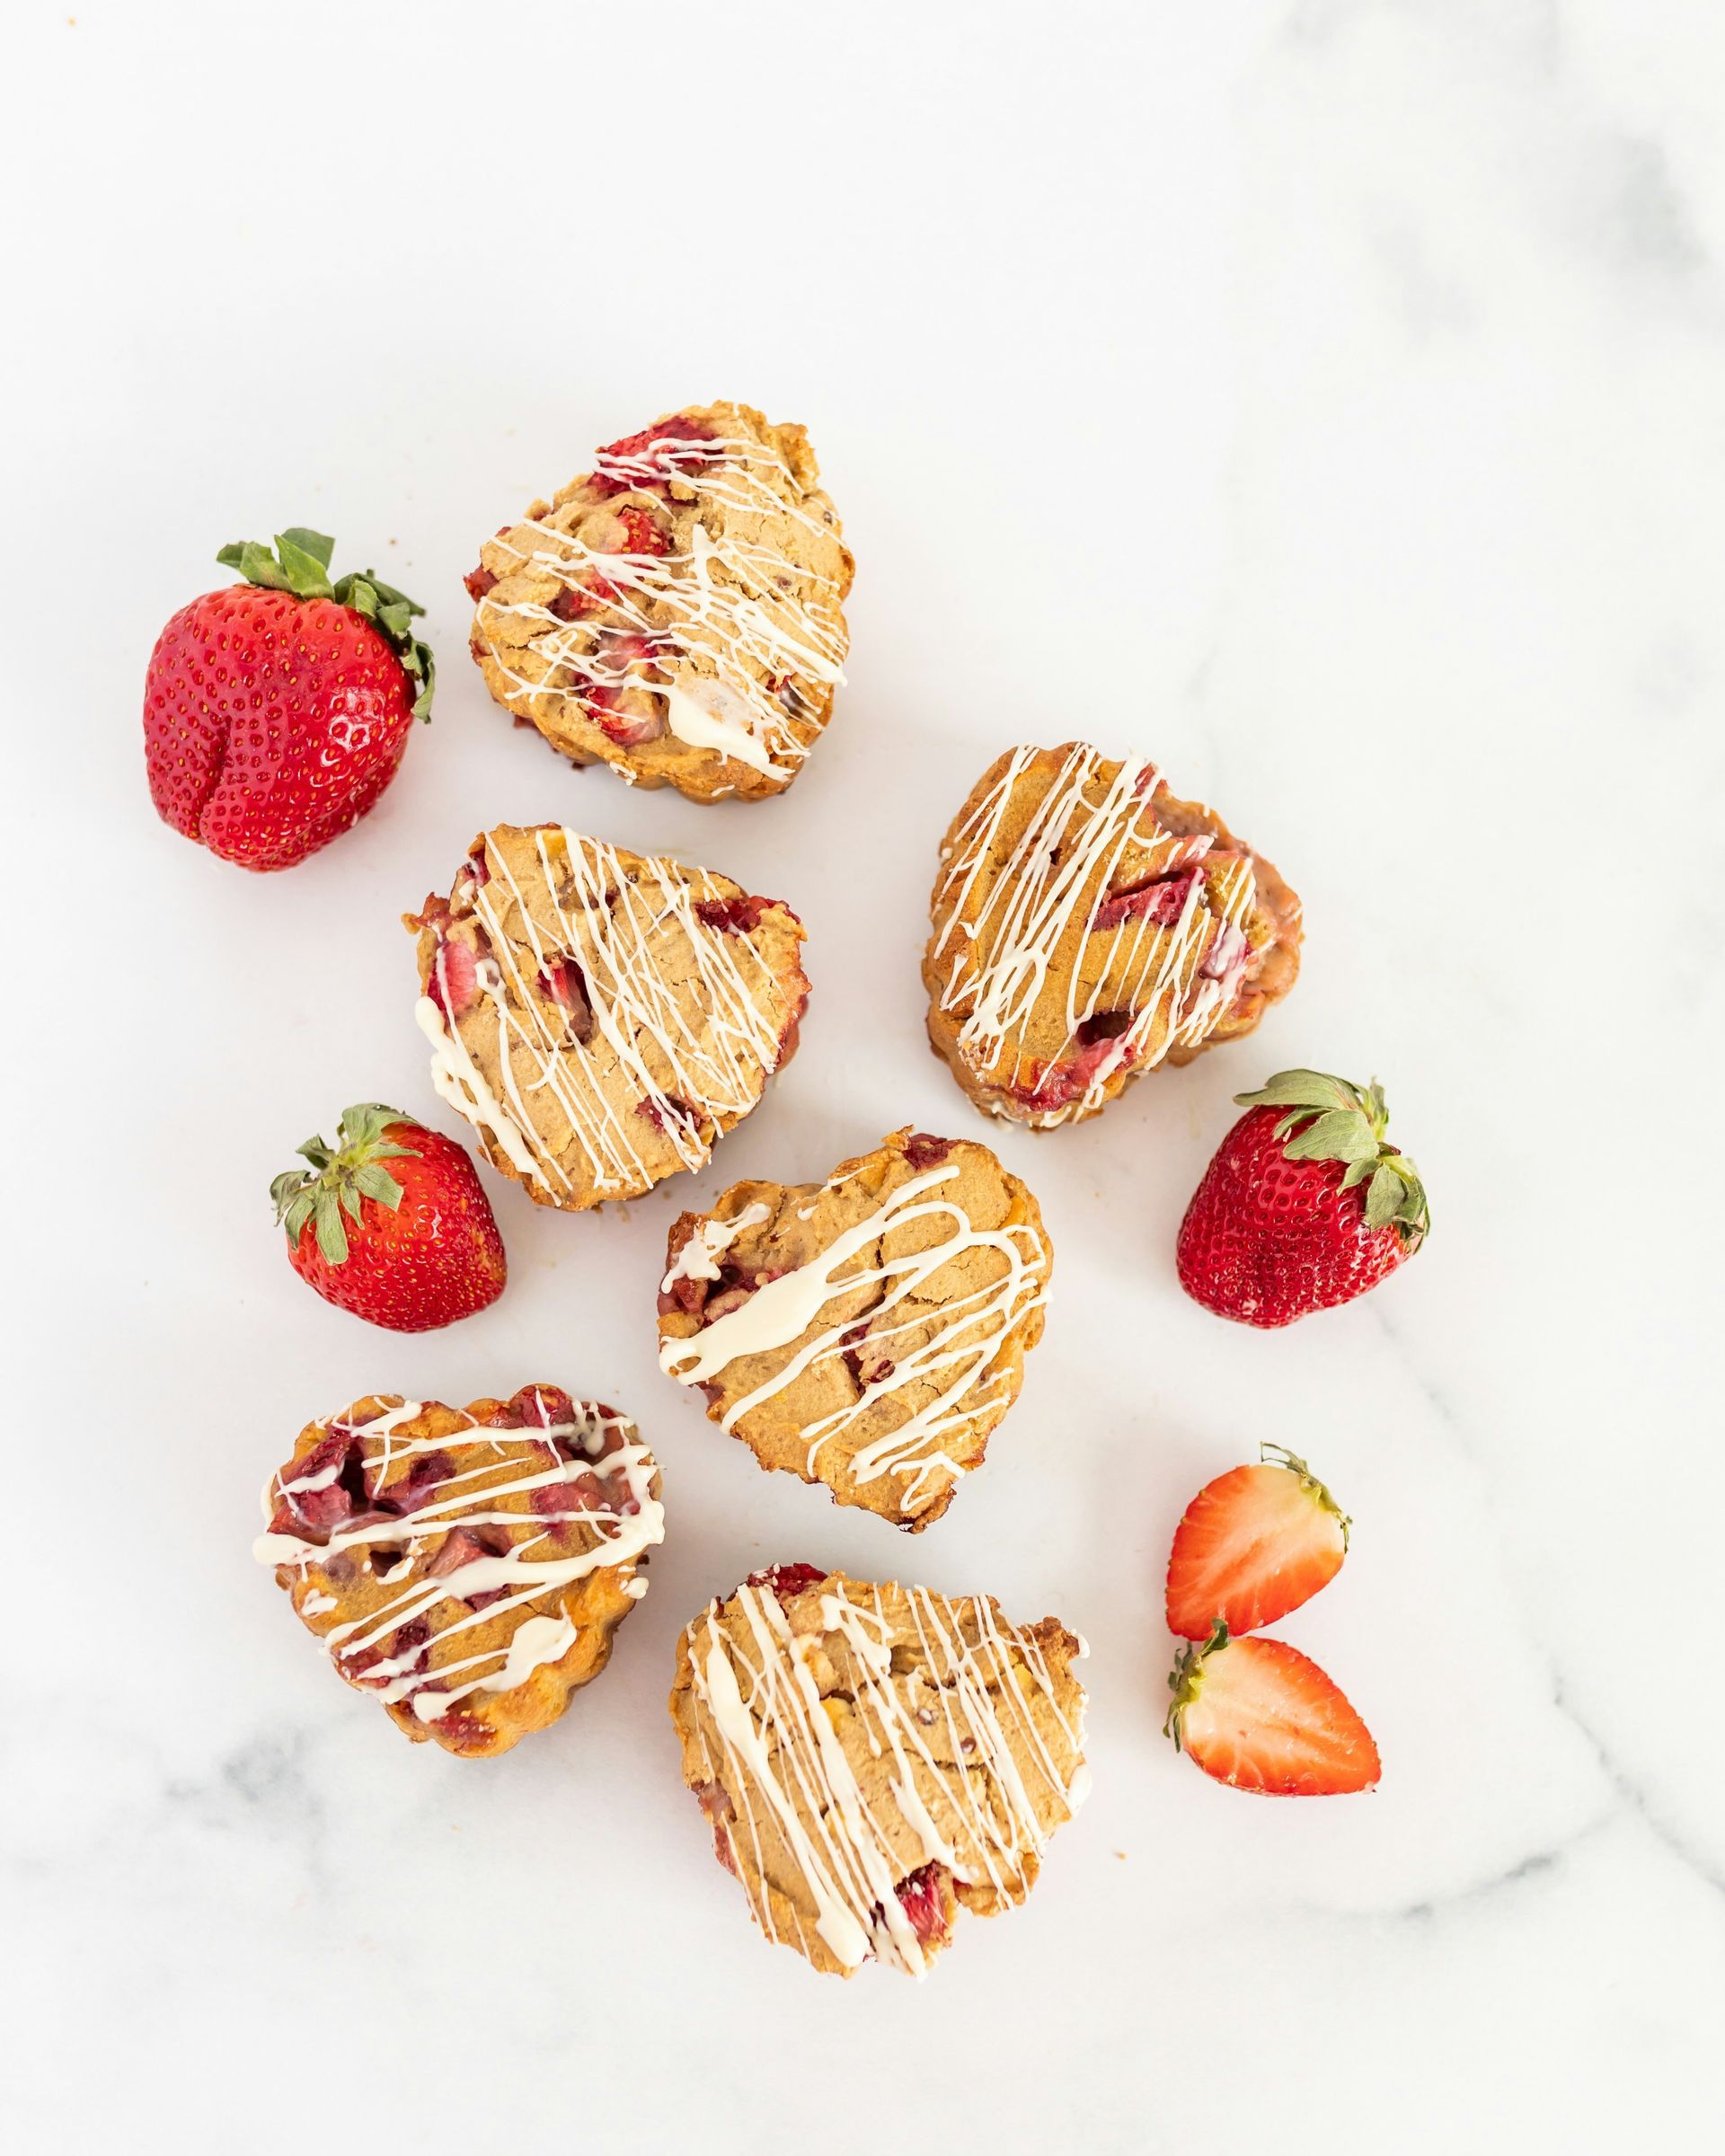
Strawberry Flax Protein Cupcake Muffins
Strawberry Flax Protein Cupcake Muffins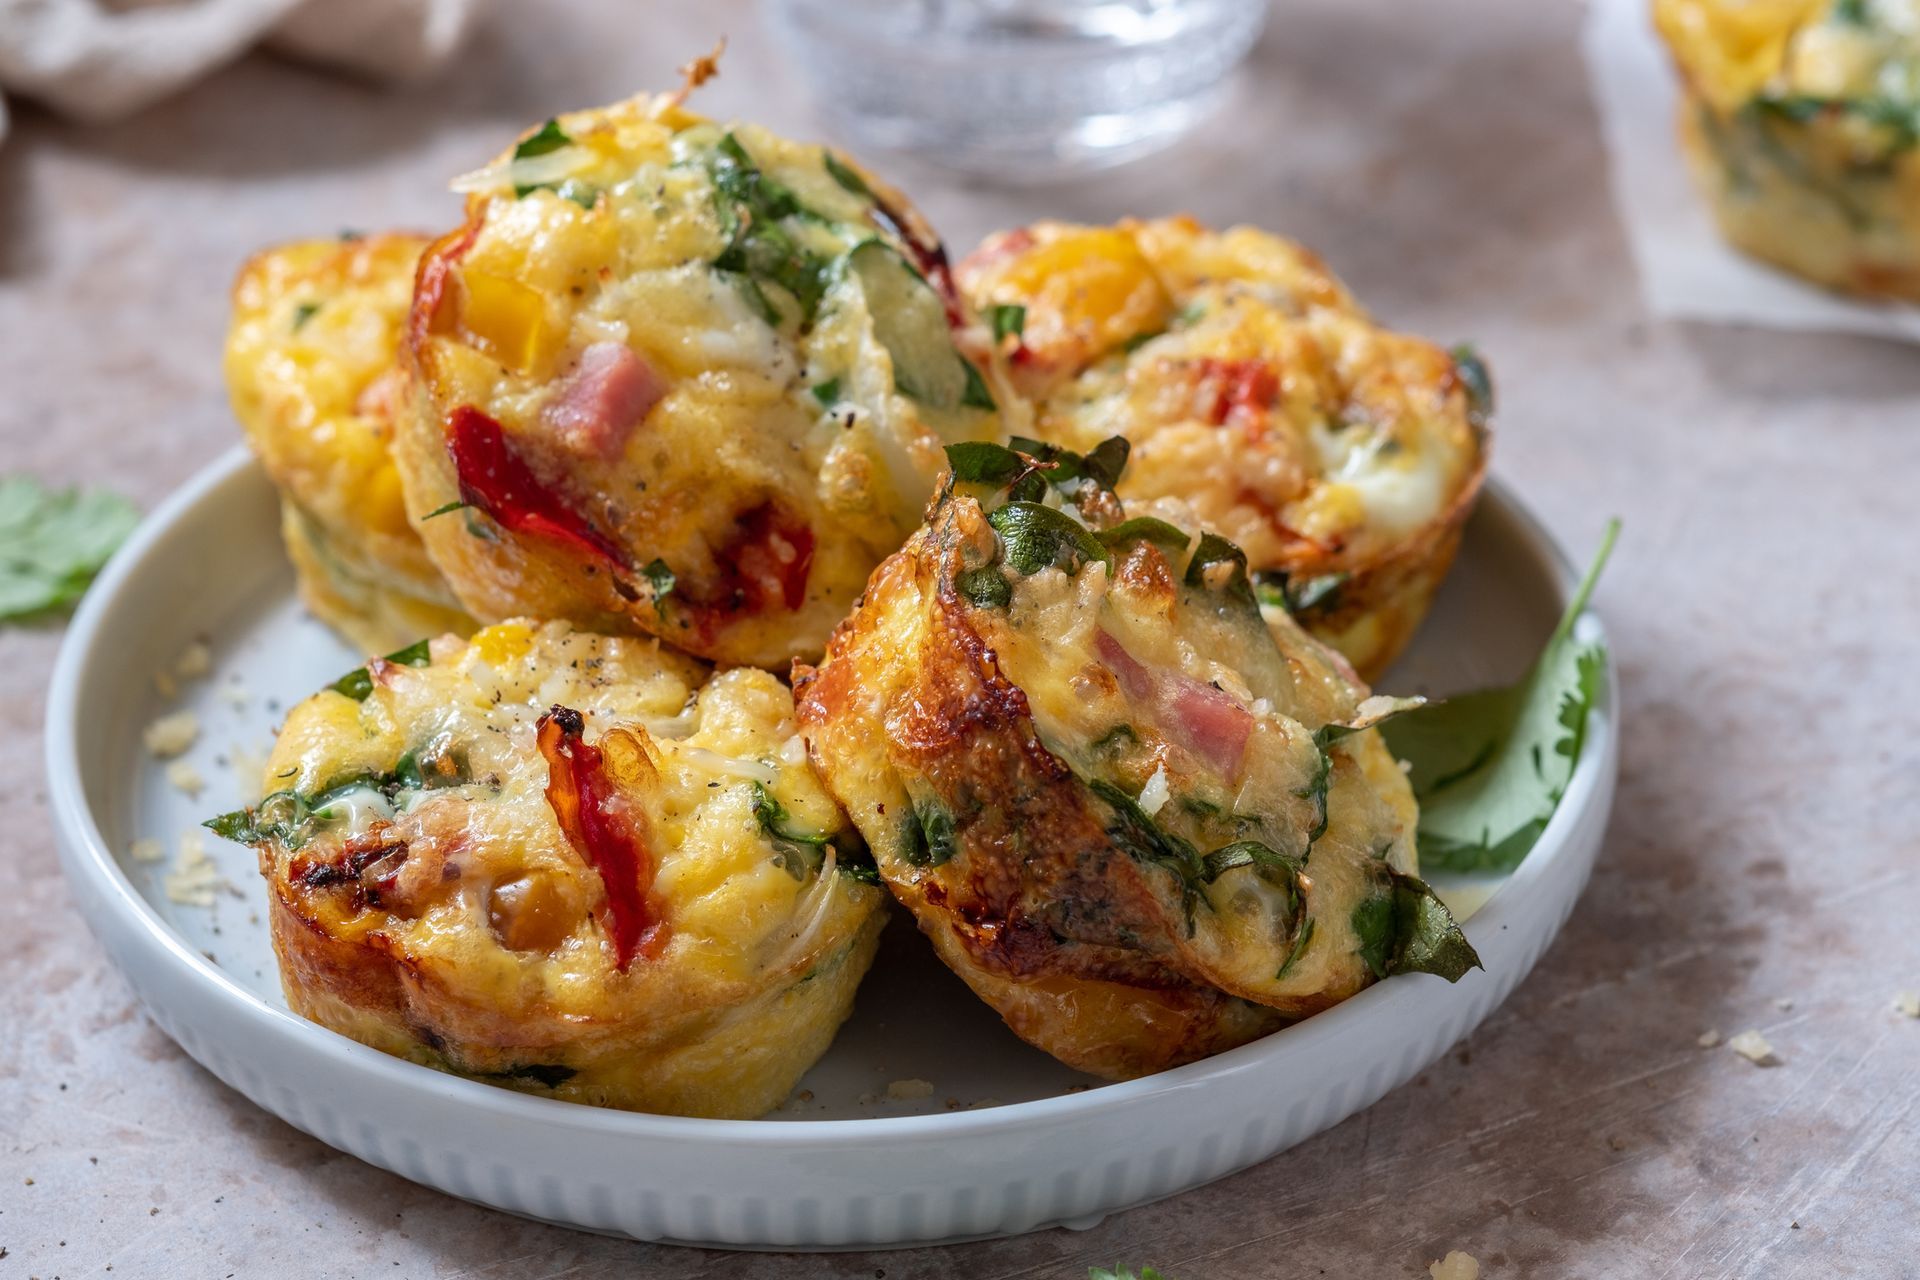
Mediterranean Egg Bites
Mediterranean Egg Bites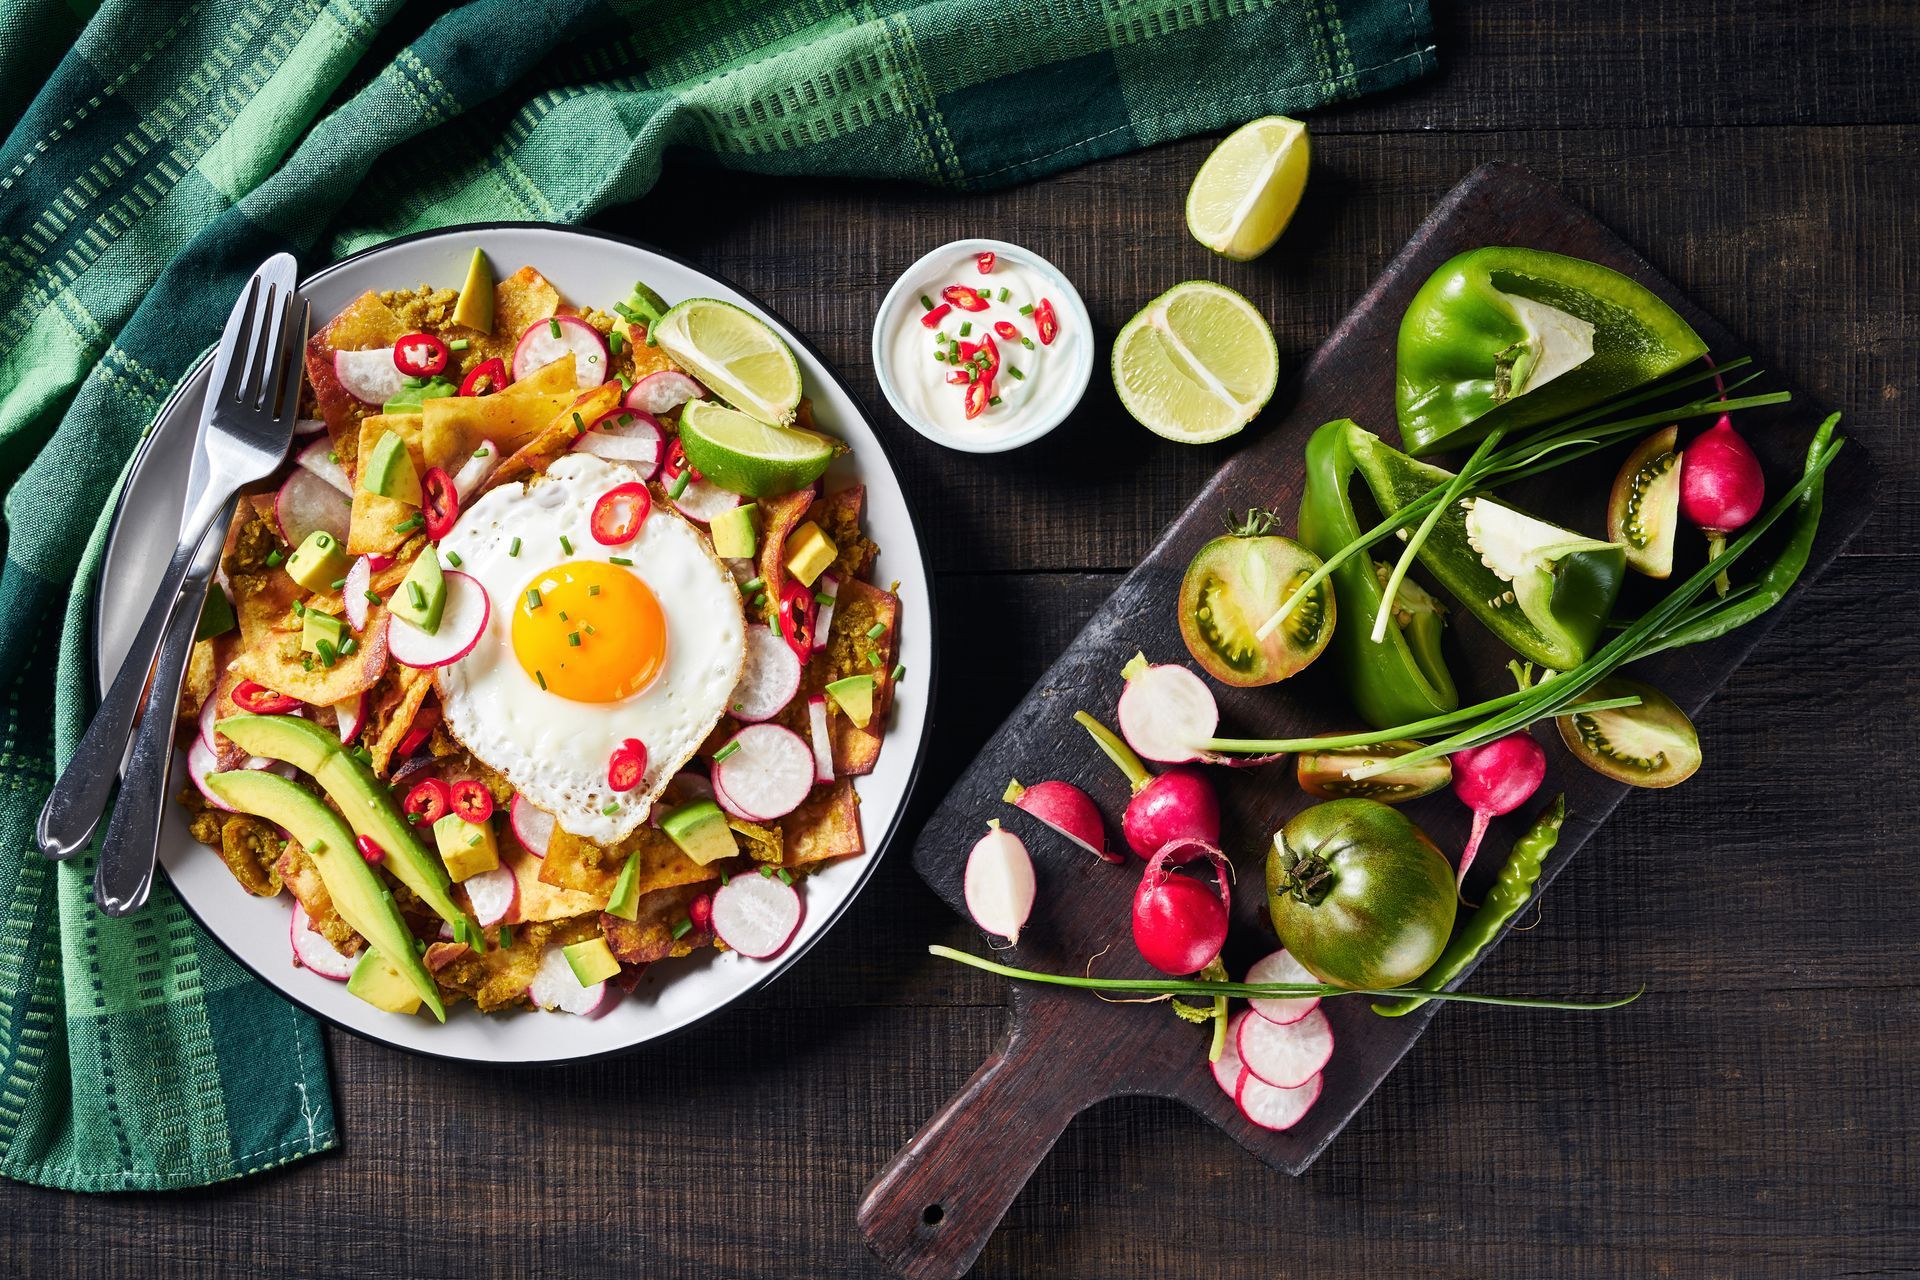
We Will See The Sun Soon Chilaquiles
We Will See The Sun Soon Chilaquiles
Gluten Free Blackberry Zucchini Muffins
Gluten Free Blackberry Zucchini Muffins
Vegan Pumpkin Chili
Vegan Pumpkin Chili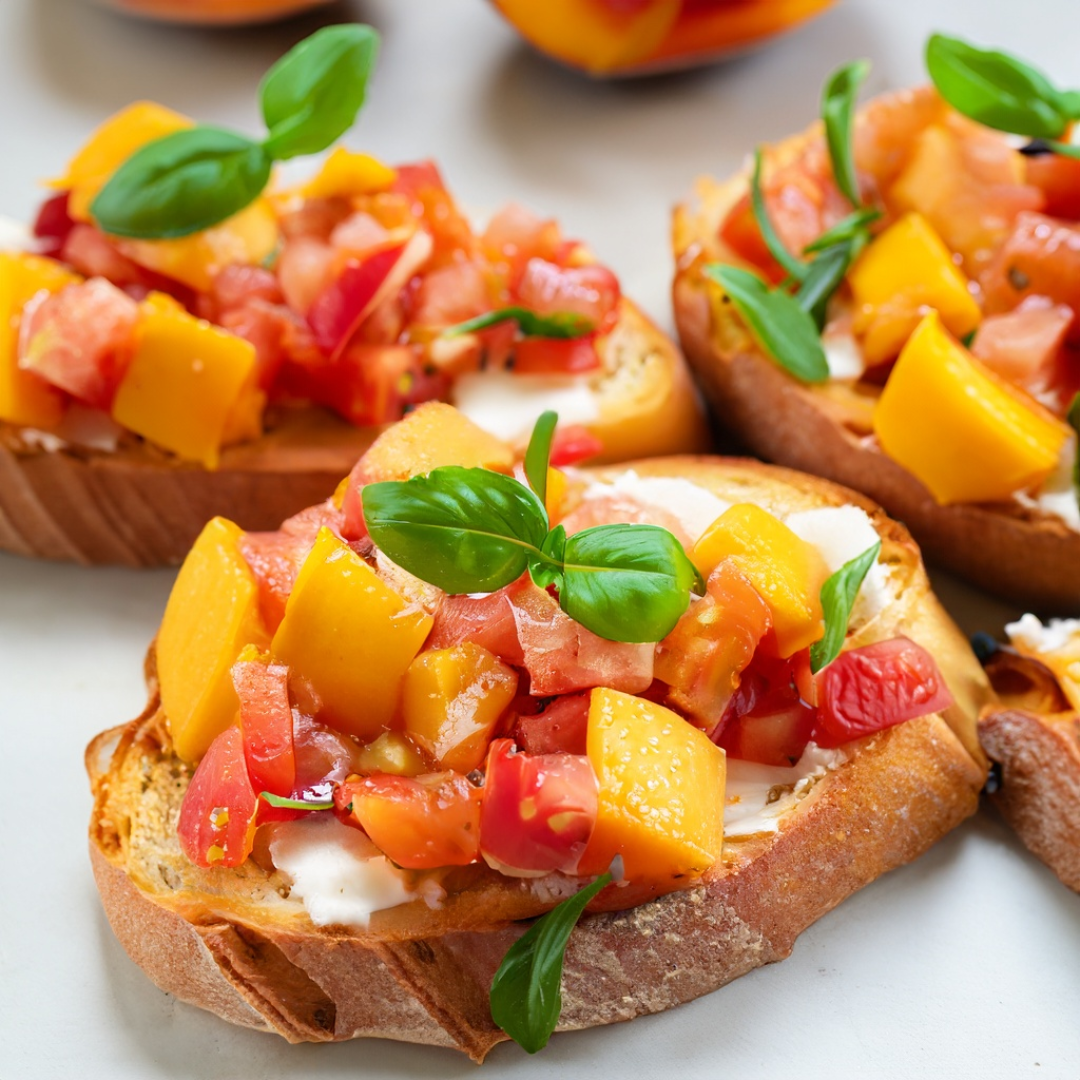
Peach & Heirloom Tomato Bruschetta
Peach & Heirloom Tomato Bruschetta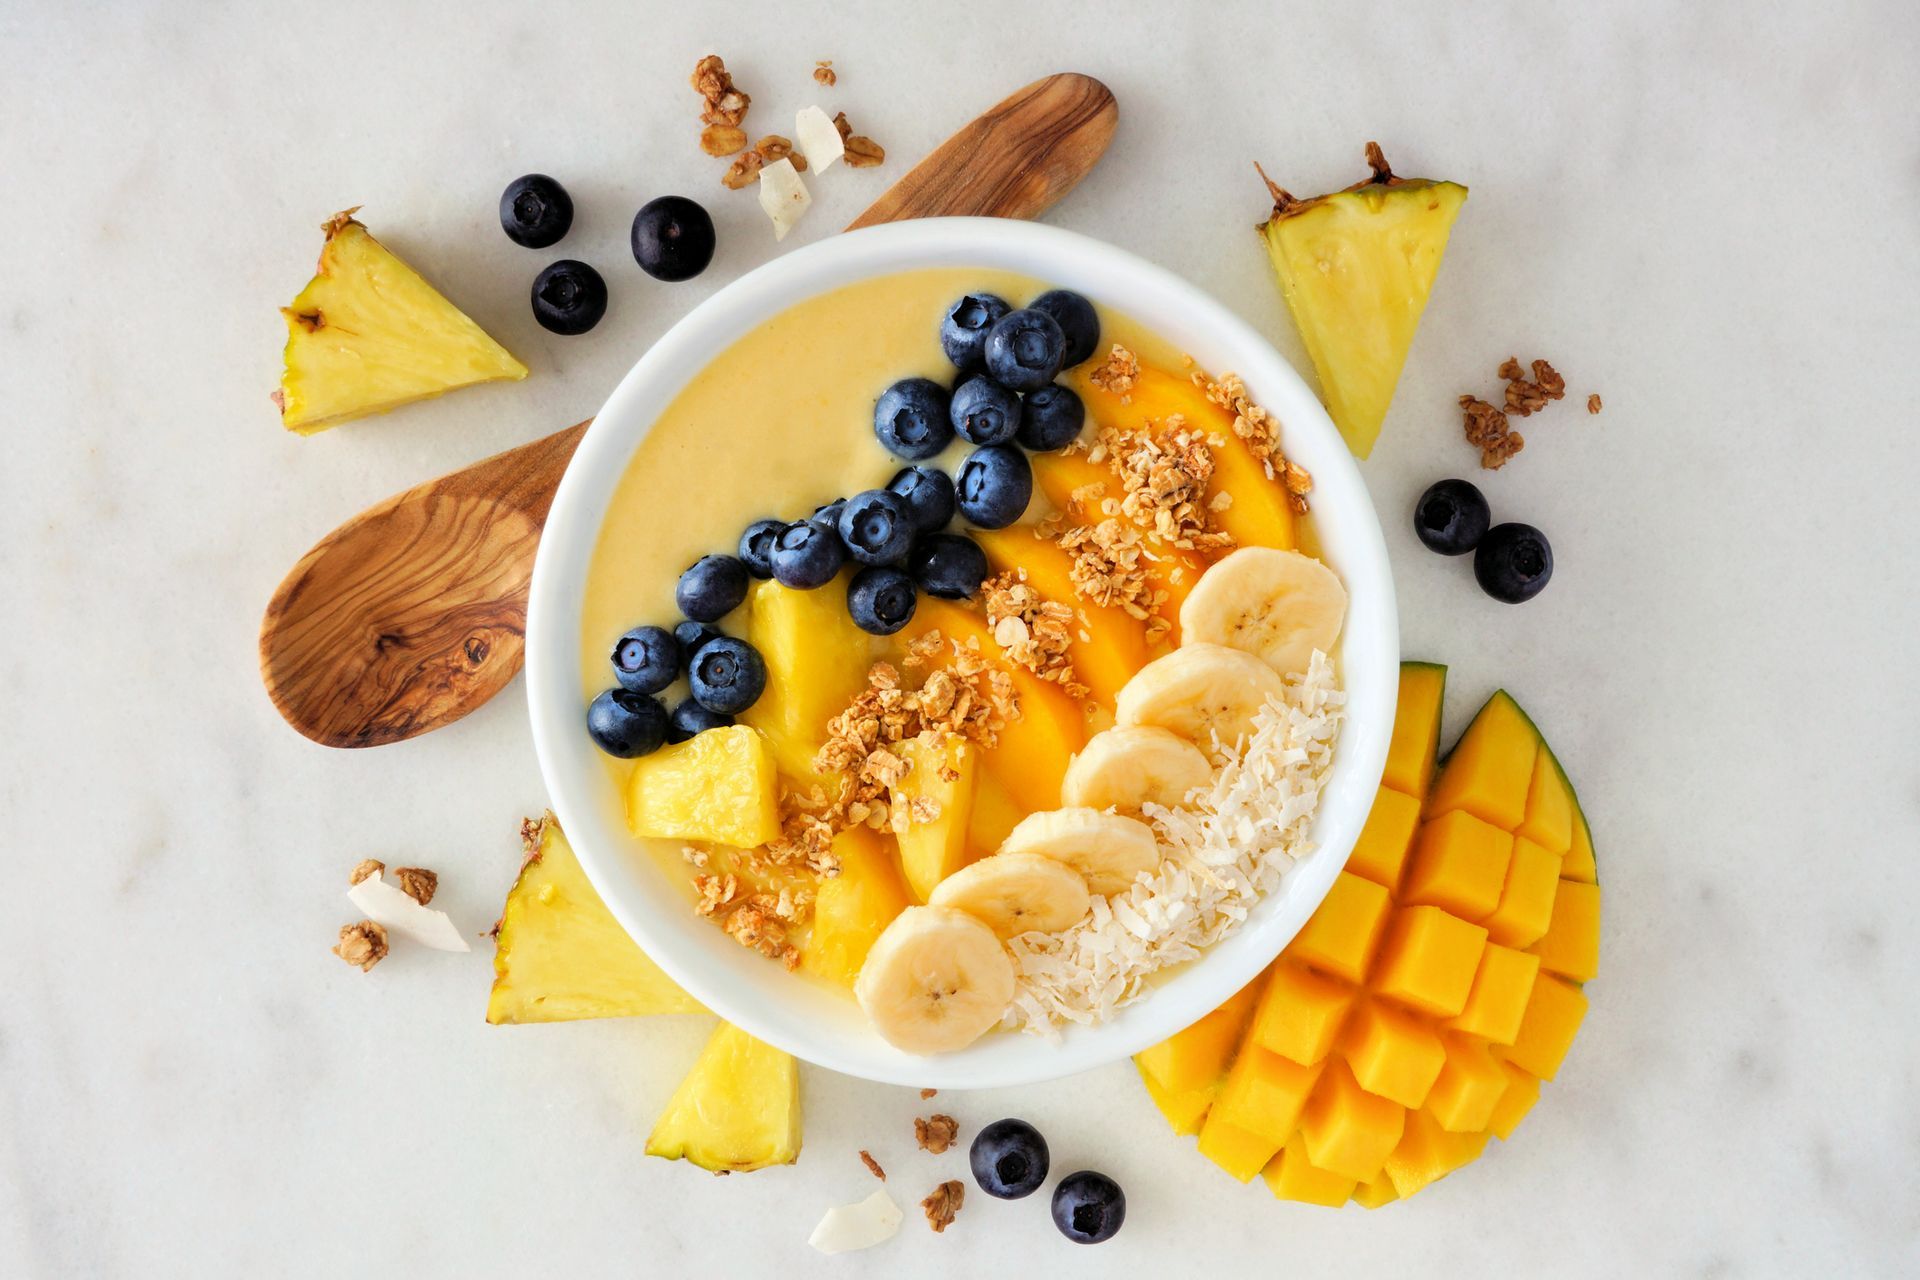
Golden Milk Smoothie Bowl
Golden Milk Smoothie Bowl
Hearty Sweet Potato and Chickpea Curry
Hearty Sweet Potato and Chickpea Curry